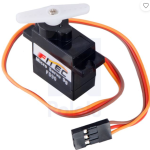
This is a super-small, very inexpensive, micro servo with around 180 degrees of rotation. It is an OUTPUT device
It draws very little current (around 100mA) when demonstrating servo control or operating under a very light load – like driving a hand around a clock face. In these light load situations it can be safely connected directly to an output pin on the Kookaberry.
However, if it is to be used for robotic control where it is likely to stall (ie, become stationary whilst still switched on), it should not be directly connected to an output pin as the extra current could damage the Kookaberry
This type of micro servo is very popular for use in radio controlled model planes. Two suitable models available in Australia are the SER0006 from DFRobot, and the FS90 from FEETECH
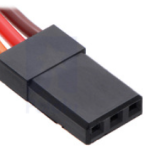
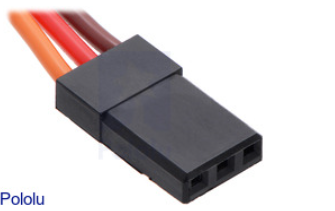
Unlike other Kookaberry peripherals on this website, these micro servos do not have a three pin JST connector. They therefore need an adapter lead such as this JST PH to Breadboard Jumper (3-pin)
Specification (FS90)
This FS90 servo operates within the voltage range 3-6volts. The specifications listed below refer to 3v operation.
- No load speed: 65RPM
- Peak Stall Torque: 1.0 kg / cm
- Idle current (stopped): 4mA
- Running current (no load): 80mA
- Stall current: 450mA
- Rotation: 180 degrees
- Pulse width range: 1-2milliseconds
- Neutral position: 1.5milliseconds
- Cable length: 200mm
- Size: 22mmx12.5mmx23.2mm
- Weight: 9 grams
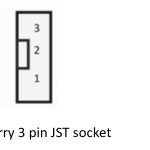
Pin Connections (FS90)
 Brown: Ground (0v)
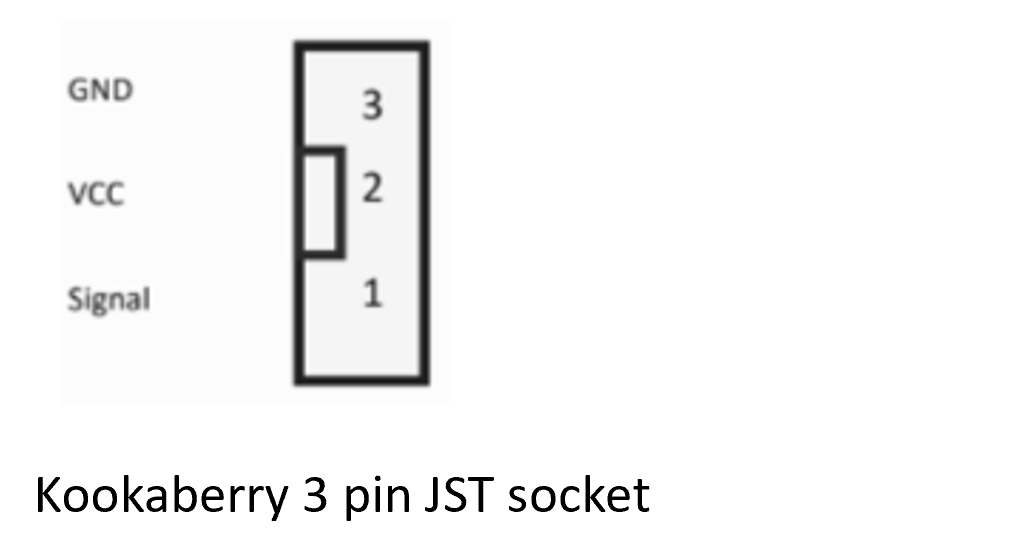
Red: VCC (3.3v)
Orange: Control Signal
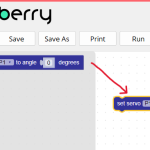
Demonstrating servo control
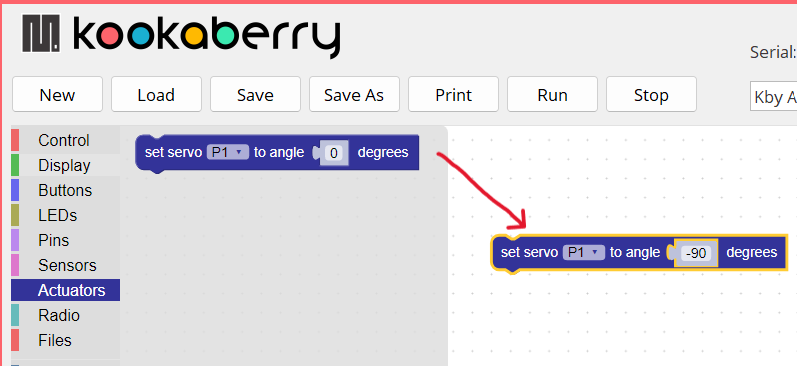
Run the Servo app to demonstrate servo operation.
Alternatively, create your own simple KookaBlockly app. Connect a Kookaberry to a PC or Mac, and plug the servo into socket P1 on a Kookaberry. Add one of the plastic arms to the servo. Open KookaBlockly and create the programme shown below to rotate the servo. Drag the block from the Actuators menu, type an angle into the servo block, and then run the programme. It’s that simple!
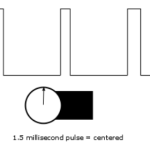
How does it work?
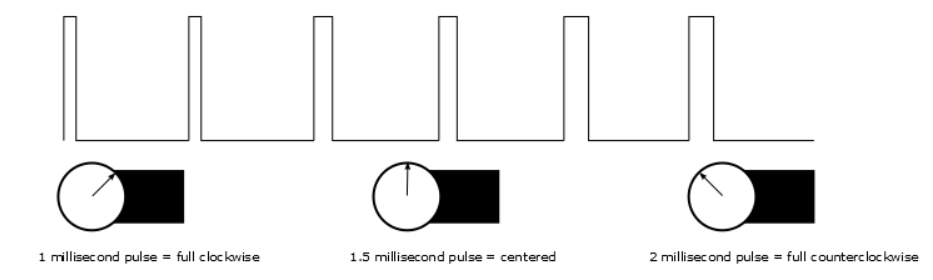
Servos rotate according to the width of pulses on the Control Signal wire (orange on the FS90 micro servo).
The pulses are sent by a microcontroller (the Kookaberry) at a 20 millisecond (50 Hz) interval, and vary between 1 and 2 milliseconds in width. If they are less than 1.5 milliseconds in width the servo rotates clockwise, and anticlockwise if greater than 1.5 milliseconds.
This method of control is called Pulse Width Modulation and is further explained in our Pulse Width Modulation (PWM) tutorial.
An excellent and very complete Sparkfun tutorial on the operation of hobby micro servos can be found at this link
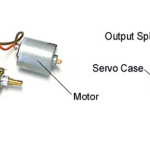
What is inside?
The diagram and description below is provided by Jameco Electronics
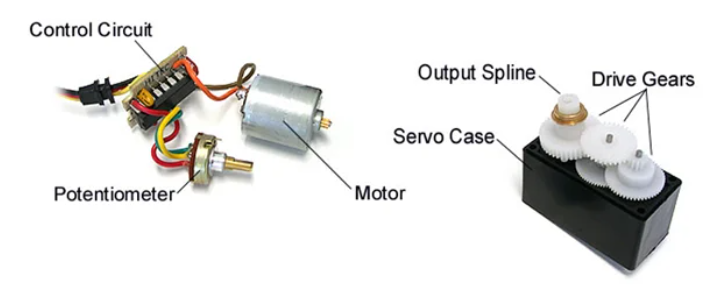
The servo circuitry is built right inside the motor unit and has a positional shaft, which usually is fitted with a gear (as shown below). The motor is controlled with an electric signal which determines the amount of movement of the shaft.
To fully understand how the servo works, you need to take a look under the hood. Inside there is a pretty simple set-up: a small DC motor, potentiometer, and a control circuit. The motor is attached by gears to the control wheel. As the motor rotates, the potentiometer’s resistance changes, so the control circuit can precisely regulate how much movement there is and in which direction.
When the shaft of the motor is at the desired position, power supplied to the motor is stopped. If not, the motor is turned in the appropriate direction. The desired position is sent via electrical pulses through the control signal wire. The motor’s speed is proportional to the difference between its actual position and desired position. So if the motor is near the desired position, it will turn slowly, otherwise it will turn fast. This is called proportional control. This means the motor will only run as hard as necessary to accomplish the task at hand, a very efficient little guy.
A very good explanation of both motors and servos – including some more code – is contained in this video by MakeCode