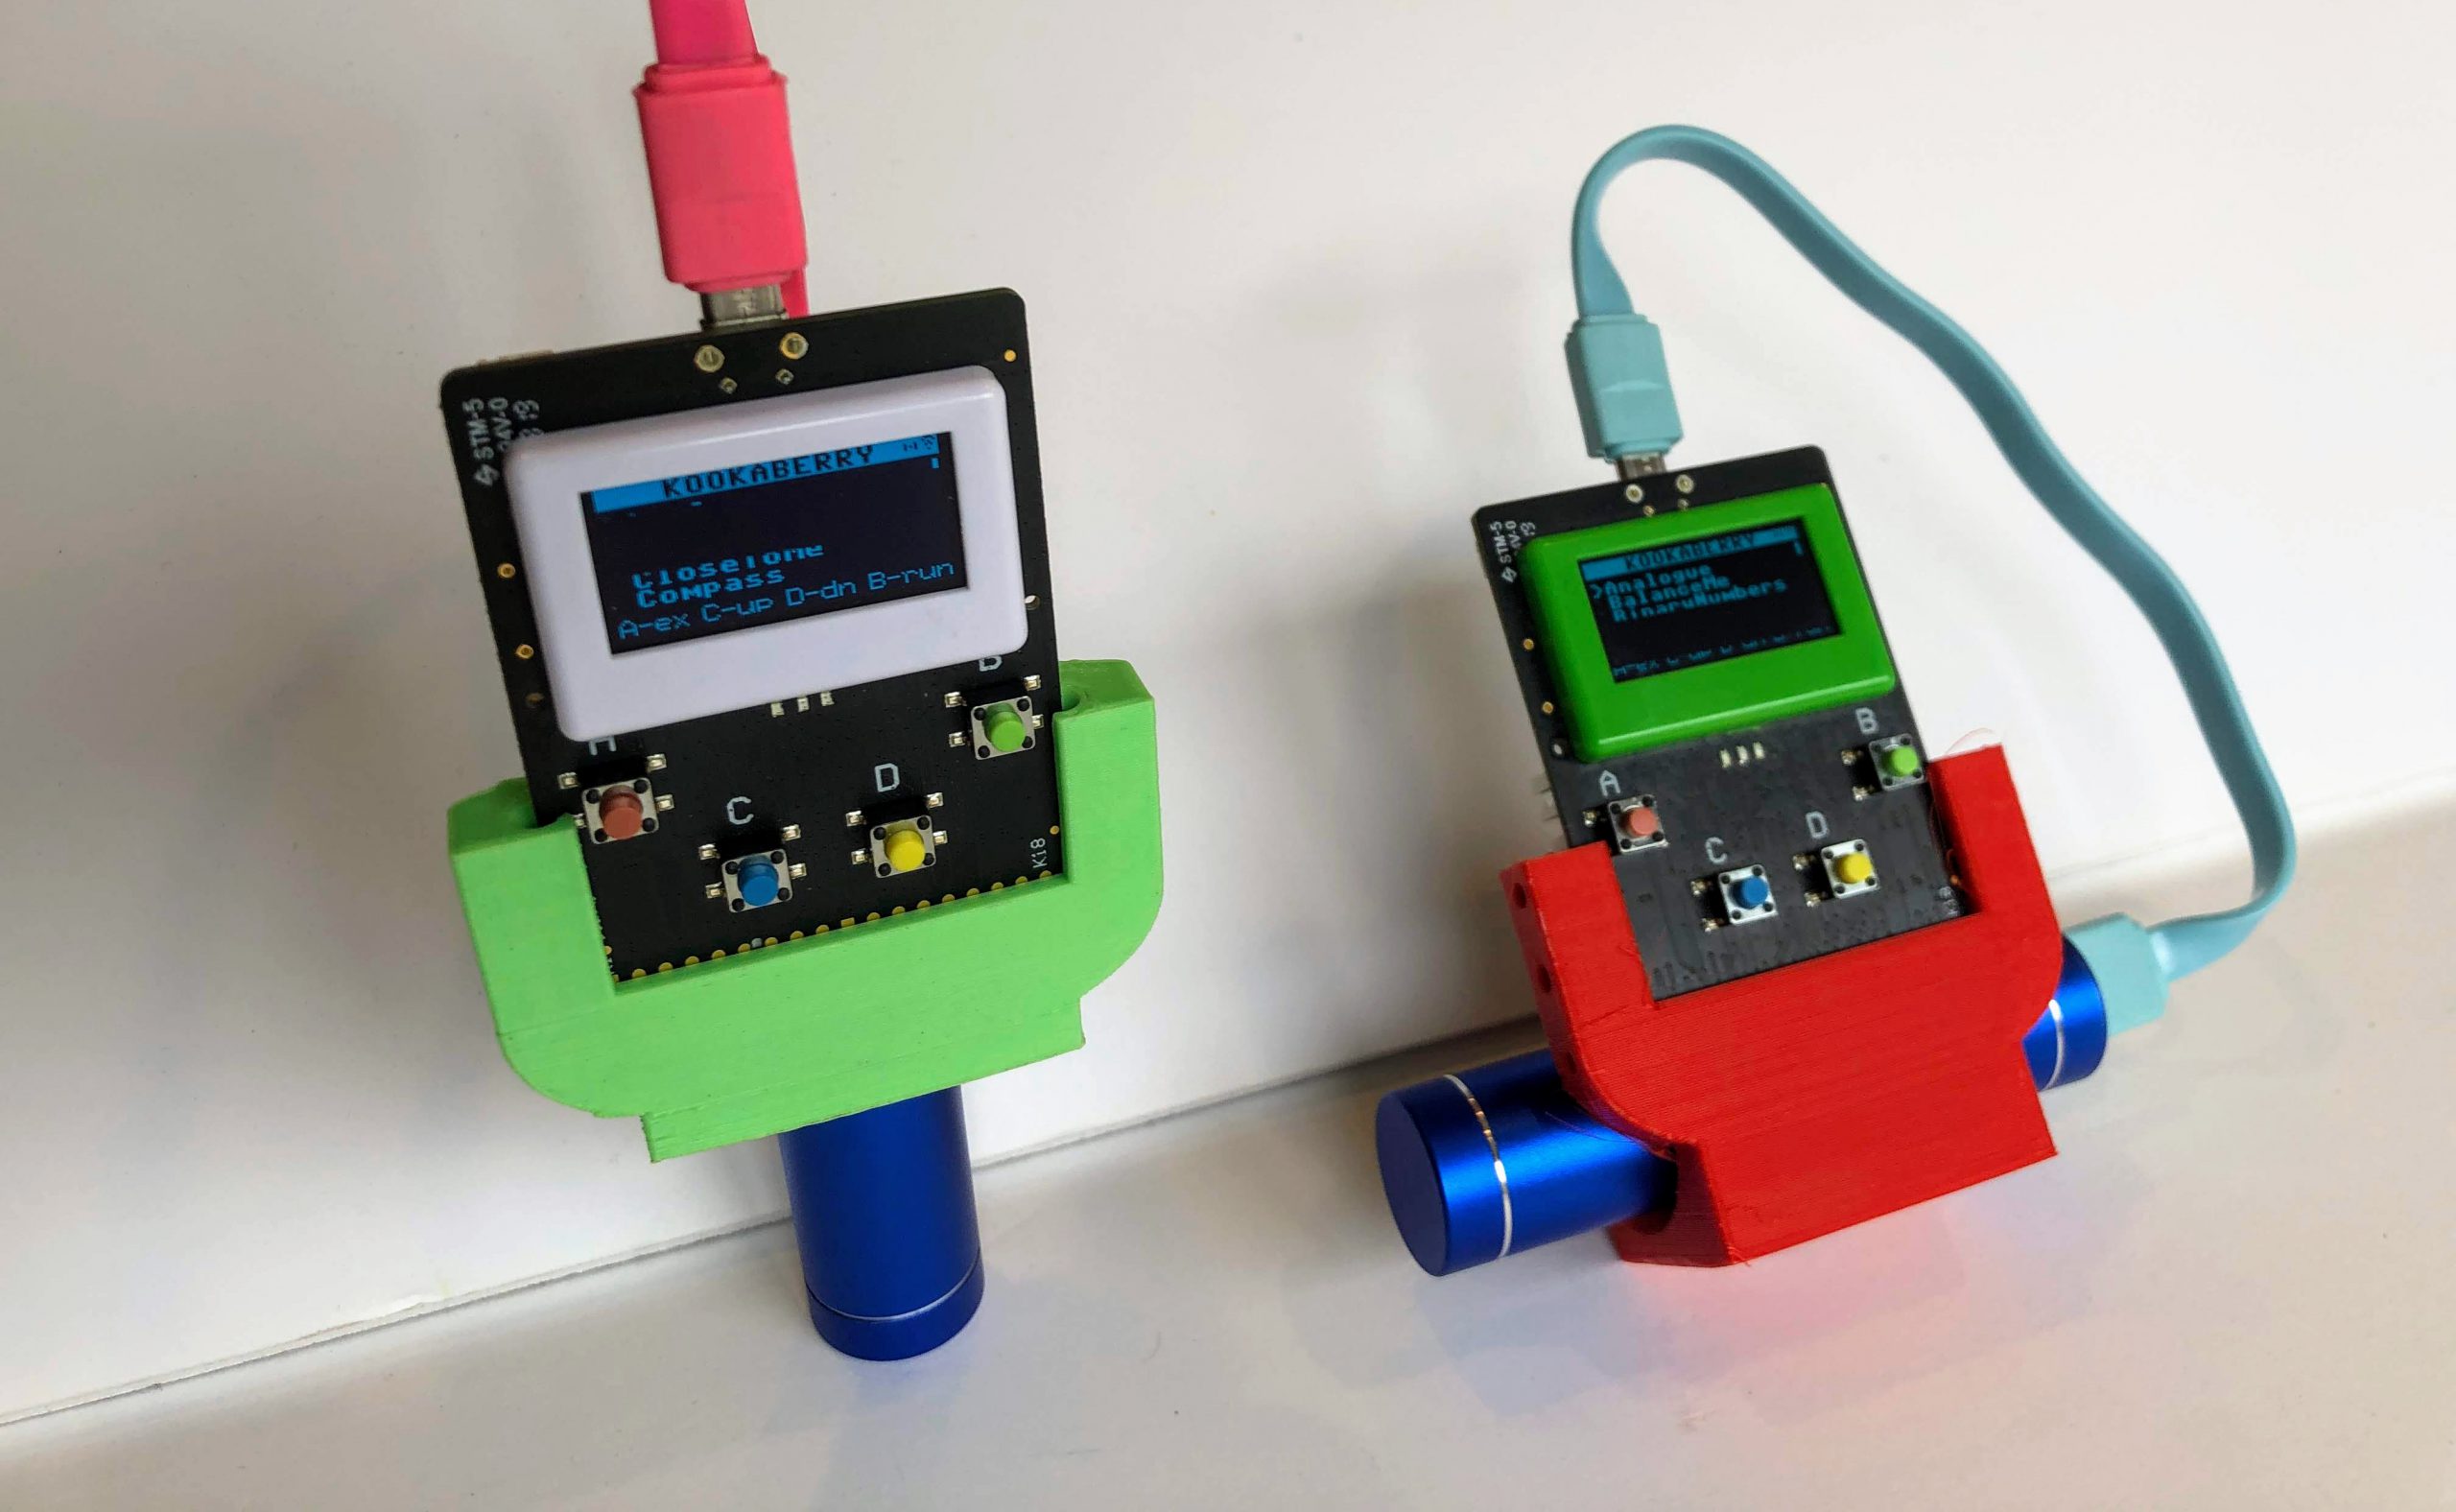
This Tutorial provides all the information necessary to print your own 3D handle for a Kookaberry


Specification
Filament: PLA plastic, 17.08 grams
Printing Parameters: 0.2mm extrusion with 15% infill
Notes:
-
-
No supports.
-
Printed skirt or brim to help it stick to the printing plate.
-
Each unit needs to be cleaned up by removing the brim and smoothing the underside edges.
-
Files: The STL and OBJ files that describe the handle design can be downloaded from the sidebar to the right
Slicer programme views
Here are some views from the slicer program used to generate the code that is sent to the 3D printer. These vary according to the printer make, model and plastic filament being used. The views show how the design is oriented for printing.
Isometric front Isometric rear


Bottom Top


Front Rear


Side Side


View of slicer output

Screw Fixings
The holes in the sides of the handles are used for attaching the peripherals. Small 4g screws should be used.


