Table of Contents
This coding workshop/tutorial introduces participants to the KookaBlockly graphical coding editor.
It requires at least two Kookaberries, a few selected peripherals and a PC to which the Kookaberry can be connected (tethered).
It also needs a partner with another PC running KookaSuite for the interactive radio activities. However, these are just a small part of the whole workshop.

Overview
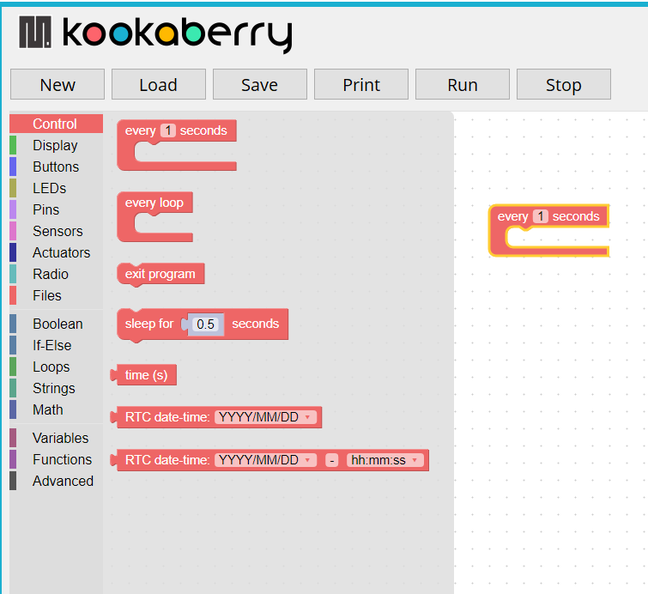
KookaBlockly uses a menu of pictorial elements (blocks) to build up a programme in MicroPython to run on the Kookaberry once it is downloaded to a compiler on the Kookaberry board.

Before you start the workshop you will need to know your way around the Kookaberry and how to turn it on and connect sensors. Check out the graphic below and review the tutorial Getting Started with your Kookaberry. Also, check out this link to Exploring the Kookaberry for more detail

Opening KookaBlockly
The KookaBlockly editor is an executable file contained within the KookaSuite folder installed on a teacher’s PC. If not already installed, click on the link below to install KookaManager. KookaManger is a dashboard allowing one click access to all KookaSuite elements and also the AustSTEM App library.
The KookaManager downloads a KookaberryScripts folder when one of the editors is first run from within KookaManager. This folder is where the scripts (programmes/code) used by the software editors are stored.
STEM Workshop Scripts
The STEM Workshop scripts may already be in the KookaberryScripts>KookaBlockly folder installed as part of your KookaManager installation. If not, unzip the STEM-Workshop.zip file included in the sidebar to the right and install it as a sub-folder of the KookaberyScripts>KookaBlockly sub-folder.
Running the Workshop/Tutorial
Open KookaBlockly and download the pdf file of the Workshop by clicking on the pdf icon in the Downloads section of the Sidebar to the right.
Use the pdf to conduct/participate in the workshop. Alternatively you can continue scrolling down to view the pages.
When you pick a sensor for the Make a Meter exercise, make sure it is an analogue one – preferably one that can provide rapidly changing measurement. The ambient light sensor is ideal for this purpose.
Workshop content