Table of Contents
Overview
This tutorial describes how to write a simple KookaBlockly programme to blink a LED or sound a buzzer, and also how to write “ON” and “OFF” on the Kookaberry’s screen.
A pdf of this Tutorial, as well as the two KookaBlockly programmes used in this Tutorial can be downloaded from within the LEDblink.kby.py zip file in the sidebar to the right
Age
This tutorial is targeted at students in years 5&6 (Stage 3) but can be introduced in Stage 2 and as a bridging course between visual and text-based programming languages in Stage 4. This is because KookaBlockly allows students to see the text-based python code behind the blocks
Resources
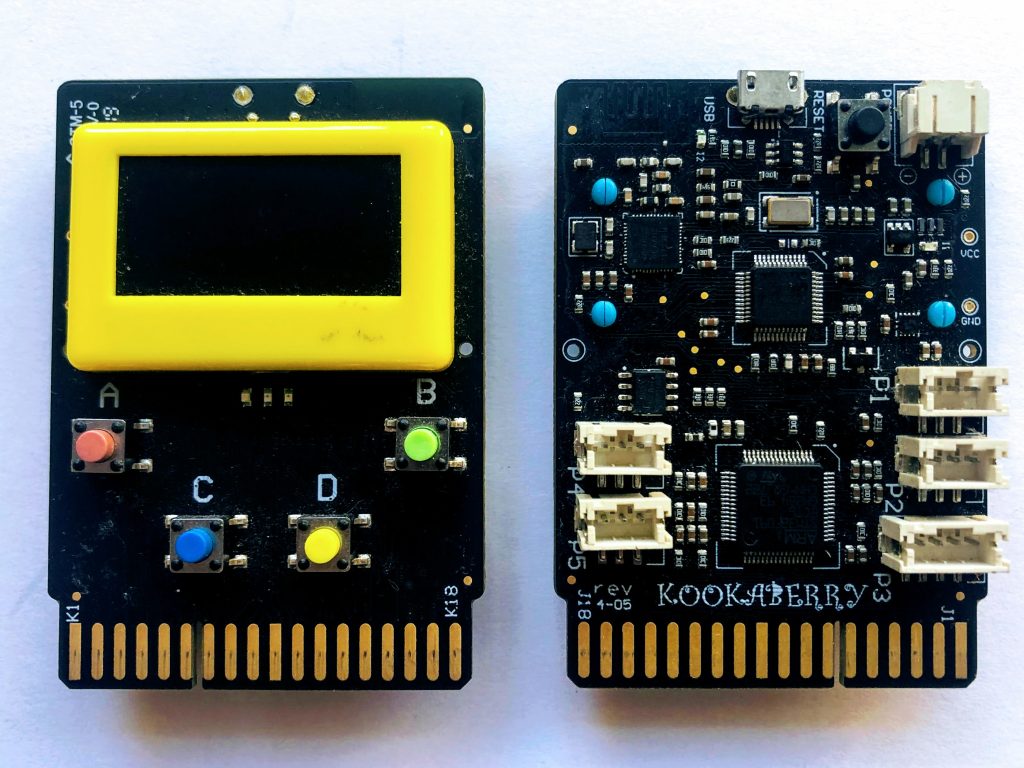
Kookaberry & USB lead

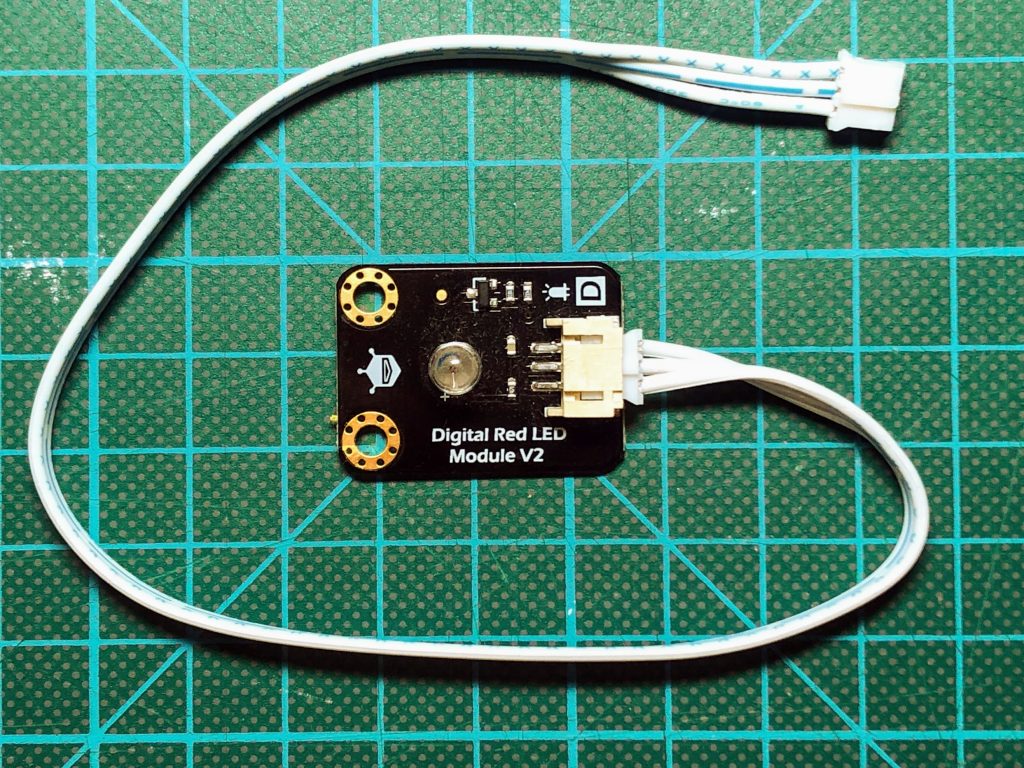
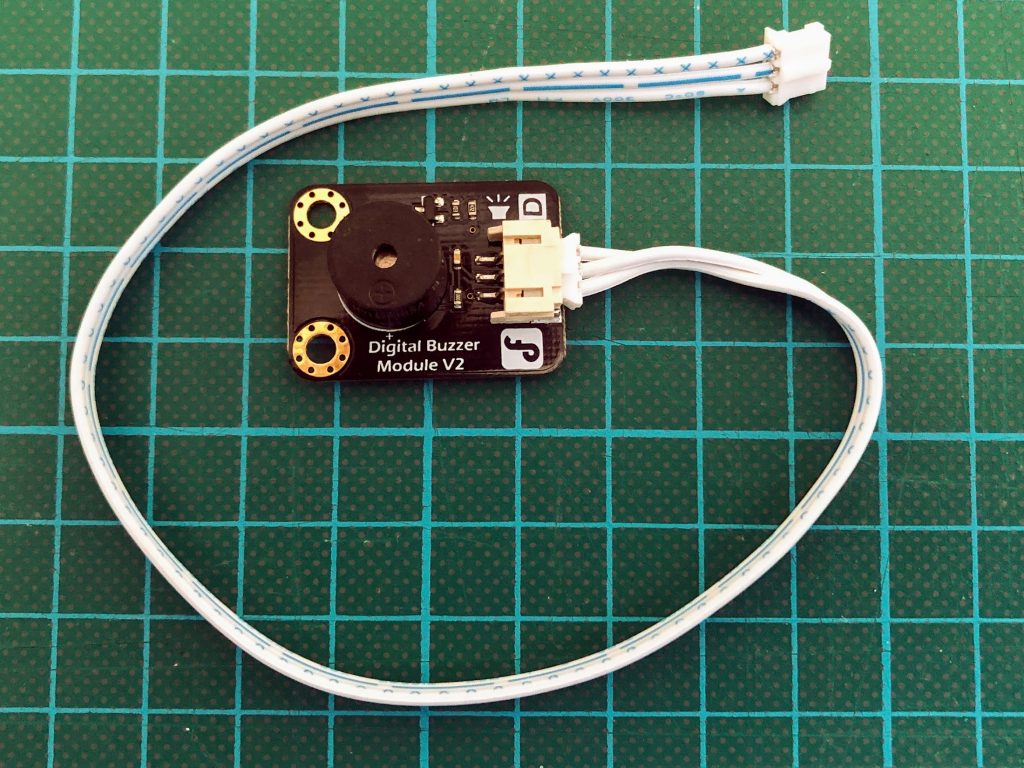
LED Module or Buzzer Module plus 3pin JST peripheral lead
KookaBlockly Visual Editor

Connecting up
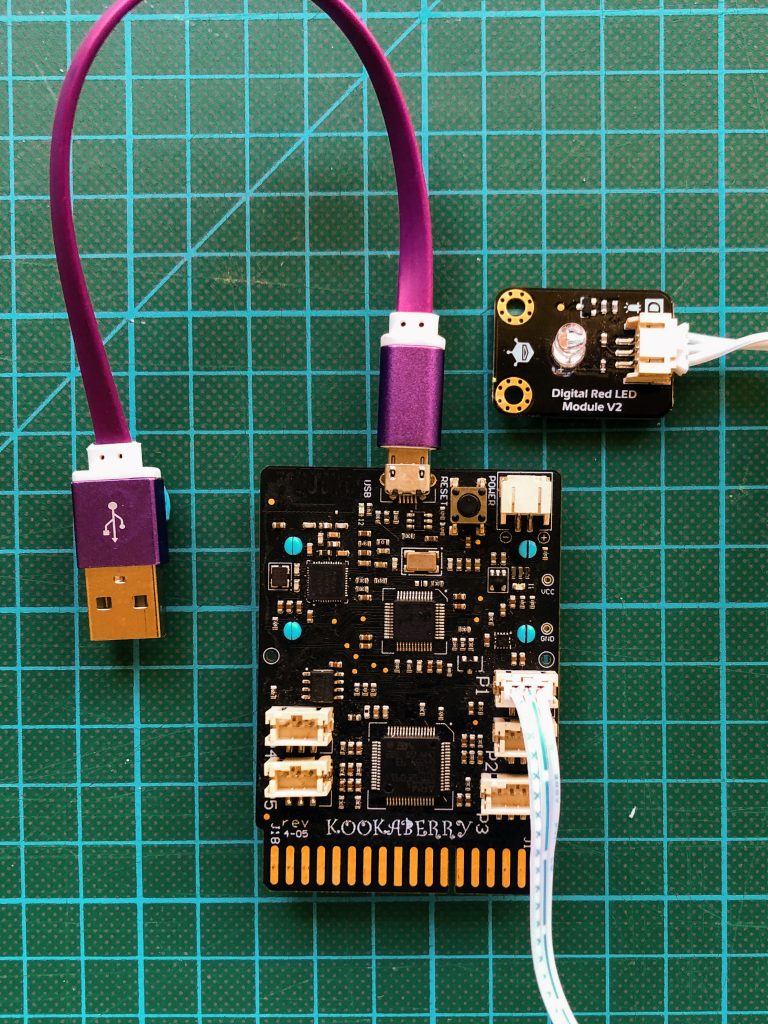
Connect the Kookaberry to your PC or Mac, and plug the LED Module into socket P1 on your Kookaberry. Plug in the Buzzer module to hear the “Blink”. This how a telegraph operator would hear a morse code signal.
Blinking a LED
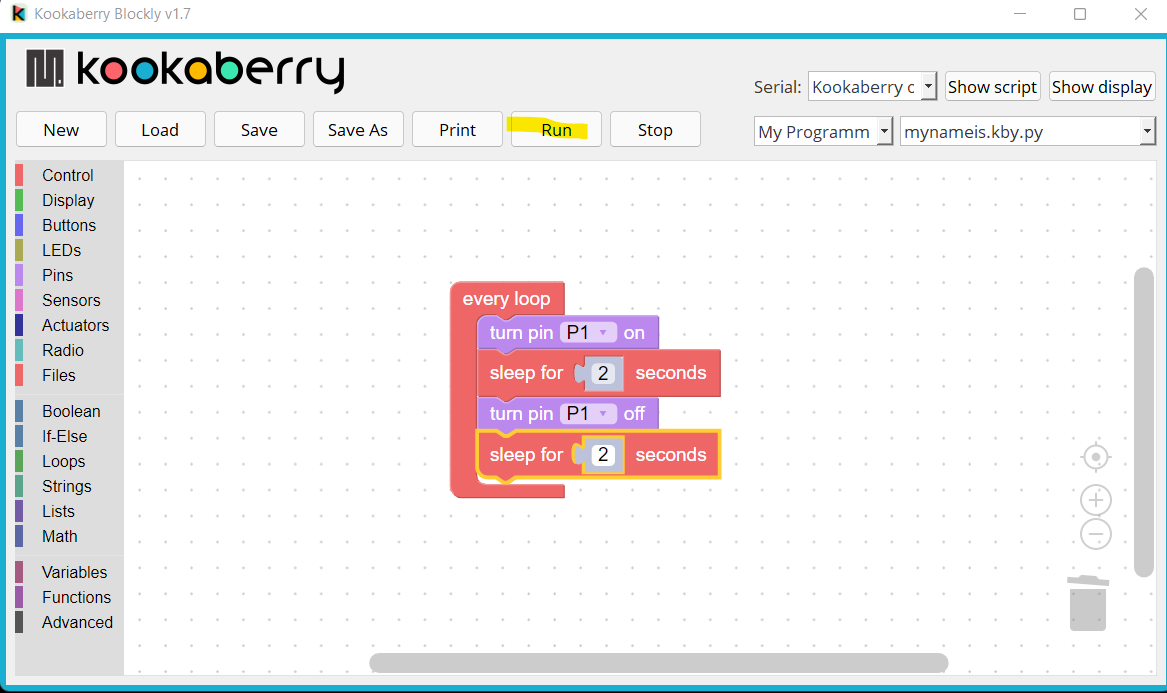
Open KookaBlockly; open the Control menu; and drag the “every loop” Control block onto the canvas. Then go the Pins menu and drag the “turn pin….on” into the control loop. The default Pin number is P1, but this can be set to other Pins from the drop down menu within the block.
Now go back to the Control menu and drag the “sleep for ….seconds” into the control loop. Set the sleep time for the amount of delay required (2 secs in the example shown)
Now turn P1 off for the required number of seconds by dragging the blocks into the control loop.
The KookaBlockly code in the downloaded zip folder for this resource is called LEDblink.kby.py. Run the programme.
Writing to the screen
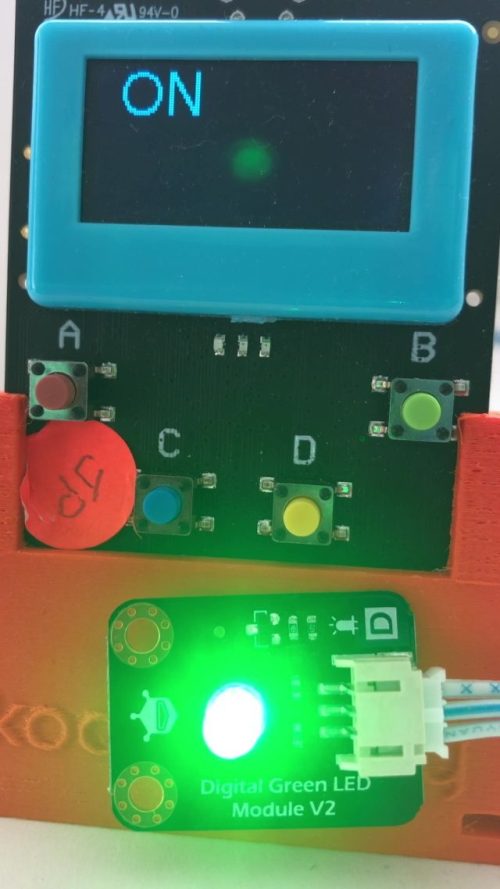
Now we will display “ON” and “OFF” at different positions on the Kookaberry’s screen when the LED is On and OFF.

This will require you to drag this block from the display menu, duplicate it (right click on block and select from drop-down menu), and place them within the “every loop” as shown in the block display below. Overtype the word ON in place of Hello in the first block and OFF in the second.
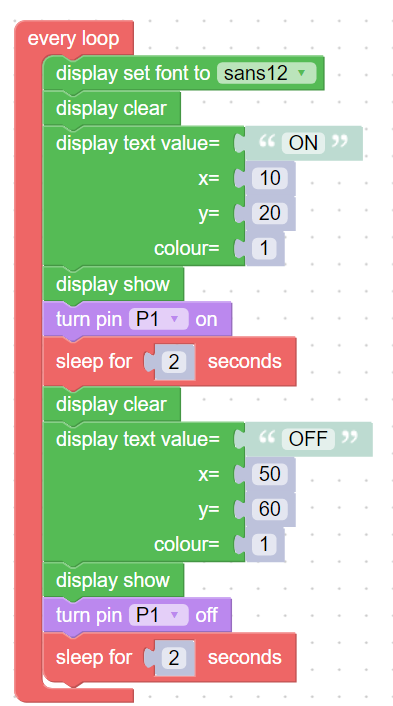
Drag the “display set font” block to be the first instruction seen by the loop instruction. Set the display font “sans 12” from the block’s dropdown menu.
Now drag the “display clear” and “display show” blocks into the positions shown. This both clears the display from the previous instruction and shows it until the next “display clear” instruction.
This “display text” block allows you to position the start of the chosen text at a chosen coordinate on the Kookaberry’s screen which is 168 pixels wide (the “x” coordinate) and 64 pixels deep (the “y” coordinate).
The coordinates position the bottom left hand corner of the text.
The values shown in the programme will place ON in the top left quarter of the screen, and OFF in the bottom right quarter.
Experiment changing the positions of the text by changing the coordinates.