
What is an IDE?
An IDE (or Integrated Development Environment) is a program dedicated to software development. As the name implies, IDEs integrate several tools specifically designed for software development. These tools usually include:
-
An editor designed to handle code (with, for example, syntax highlighting and auto-completion)
-
Build, execution, and debugging tools
-
Some form of source control
The Kookaberry has its own Integrated Development Environment (KookaIDE) offering the following features.
-
REPL : single line execution of MicroPython code
-
EDITOR: writing of MicroPython programs as well as program editing
-
RUN: a facility to run a program directly on the Kookaberry
-
LOAD : a facility that allows the loading of stored programs into the Editor
-
SAVE: a facility that allows programs developed or modified in the Editor to be stored (saved)
-
TEACHER'S WINDOW: a training and teaching facility that allows the Kookaberry display to be mirrored onto a connected computer via a separate window
The latest version of the KookaIDE is held in a github repository within separate KookaSuite executable programmes for both Windows and Mac computers
The KookaIDE Window
Getting Started
First you must have KookaSuite installed on your computer. If not already installed, follow the link to the appropriate Tutorial.
Tutorial: Installing Kookasuite on a PC →
Tutorial: Installing Kookasuite on a Mac→
Once KookaSUITE is installed, run KookaBlockly programme from within your Kookaberry folder or from your shortcut.
Running the IDE
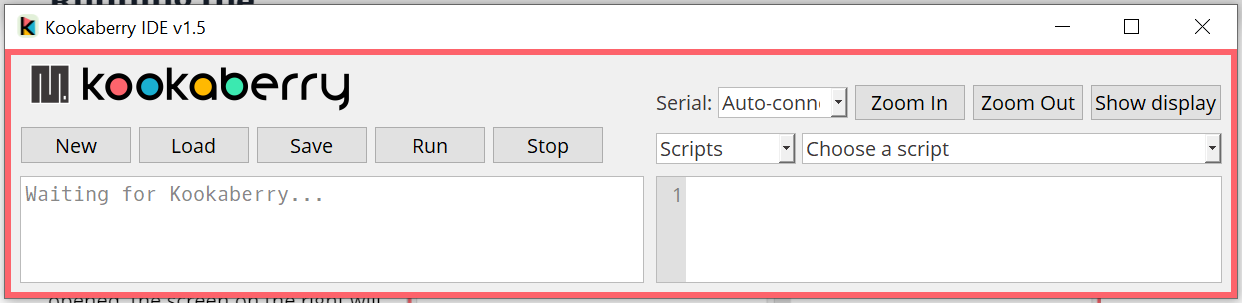
If the KookaIDE is running without a Kookaberry connected a message will appear in the REPL windows "Waiting for Kookaberry....."
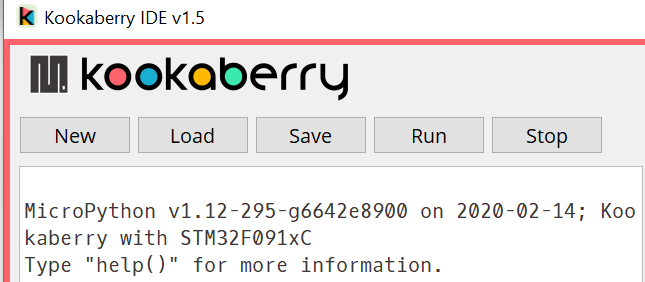
If a Kookaberry is connected to the computer before the KookaIDE is opened, the screen on the right will display.
The text in the left hand pane tells you the version of MicroPython that is being used and the date of the last firmware upgrade of the processor chip.
The flashing >>> shows that it is waiting for instructions.
Panes in the IDE Window

The left hand pane is the REPL. This stands for Read, Evaluate, Print, Loop and is a feature of many Python or MicroPython IDE's. It allows for single line execution of MicroPython instructions.
The right hand pane is the MicroPython Editor where programs are written or modified.
Scripts Menu
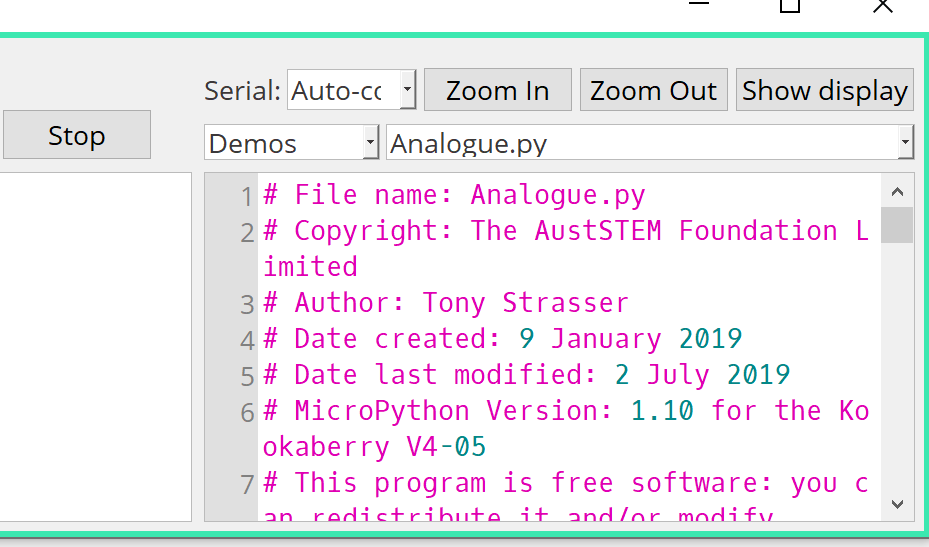
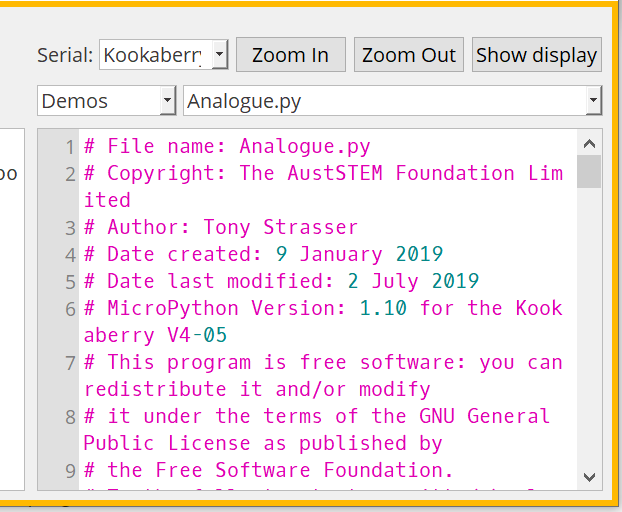
There are two Scripts menus in the top right of screen. These allow access to pre-loaded programmes which are loaded into the KookaScripts folder.
The example shown is for the Demos folder chosen in Scripts menu and the Analogue.py script (programme) chose in the other.
If nothing appears when you click on these menus, the KookaScripts folder is either missing or not populated.
Go to the KookaSuite Download page for the computer you are using to learn about KookaScripts and how to download the KookaScripts folder
KookaSuite for Windows→
KookaSuite for Mac→
Script Control Buttons
The five buttons along the top of the REPL pane have the following functions
New: Clears existing code and prepares the Editor for loading, editing, and running a new programme.
Load: Allows search for a programme to edit (if needed) and run. The example shown was loaded from the app folder of a tethered Kookaberry. The code is shown in the Editor pane.
Save: Will save the edited programme in a folder of your choice. Tip: Create a "My Programmes" folder in the KookaIDE sub-folder of the KookaScripts folder. This will allow you to access your saved programmes through the Script menus buttons.
Run: Will run the programme in the Editor pane
Stop: Will stop a programme running in the Editor pane.
Other Buttons
The two Zoom In and Zoom Out buttons increase and decrease the text size in both panes
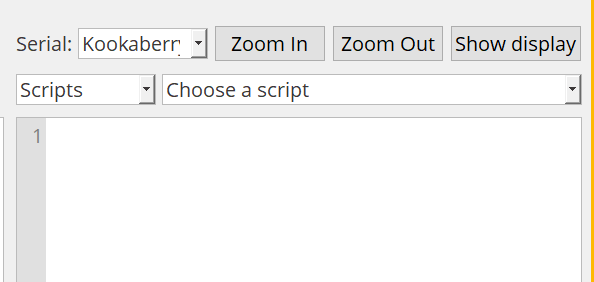
The Serial menu indicates the connection status of the serial port to which the Kookaberry is connected. When the IDE is waiting for connection its status "Auto-connect" and when connected, it shows the COM Port number
The Show Display button toggles (ie turns on and off) the Teachers' Window which mirrors what is being displayed on the tethered Kookaberry
REPL Pane Help Command
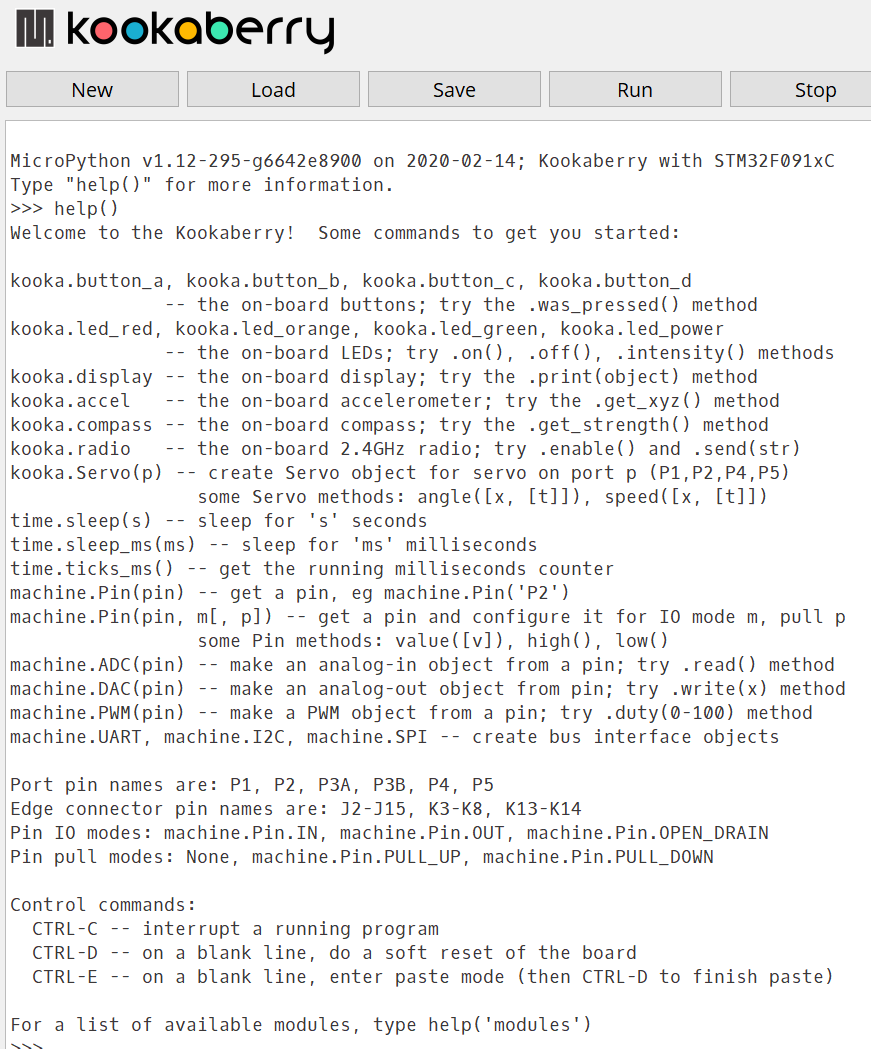
Typing help() after the flashing cursor will reveal a list of useful command functions that can be initiated from the REPL pane.
It also identifies port pin names and connector pin names
Other REPL Commands
>>>import kooka This imports a module - in this case the kooka module
>>>import kooka followed on the next line by >>>dir(kooka) expands the kooka module to list all its component functions.
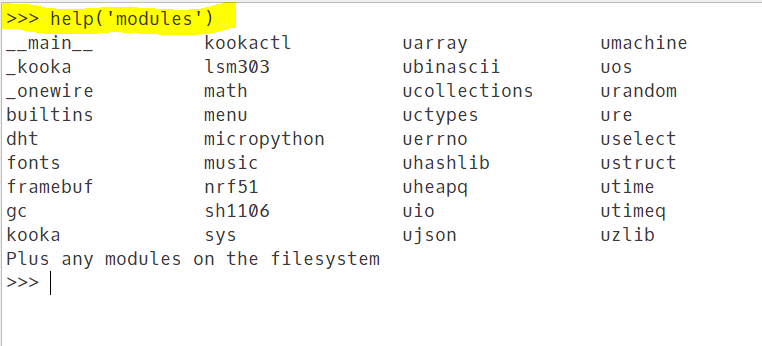
>>> help('modules') lists the MicroPython modules written for KookaBlockly.

Editor Pane Commands
The Editor defaults to black on white text but colours some text with special meanings.
In MicroPython code, keywords, builtin class and function names are highlighted in light blue.
Text is highlighted in magenta and arguments in green.
There are no >>> prompts in the Editor.
Functions available in the Editor are:
-
TAB indents the cursor by 4 spaces
-
Backspace deletes typed character or moves line backwards