
Table of Contents
This MorseCode app represents characters (data) as symbols in Morse Code.
Text messages can be created and listened to; just as a telegraph operators would have heard them at the turn of the 20th Century. They can also be exchanged between connected Kookaberries.
A pdf of this description can be downloaded from the sidebar to the right
Step 1: Setup
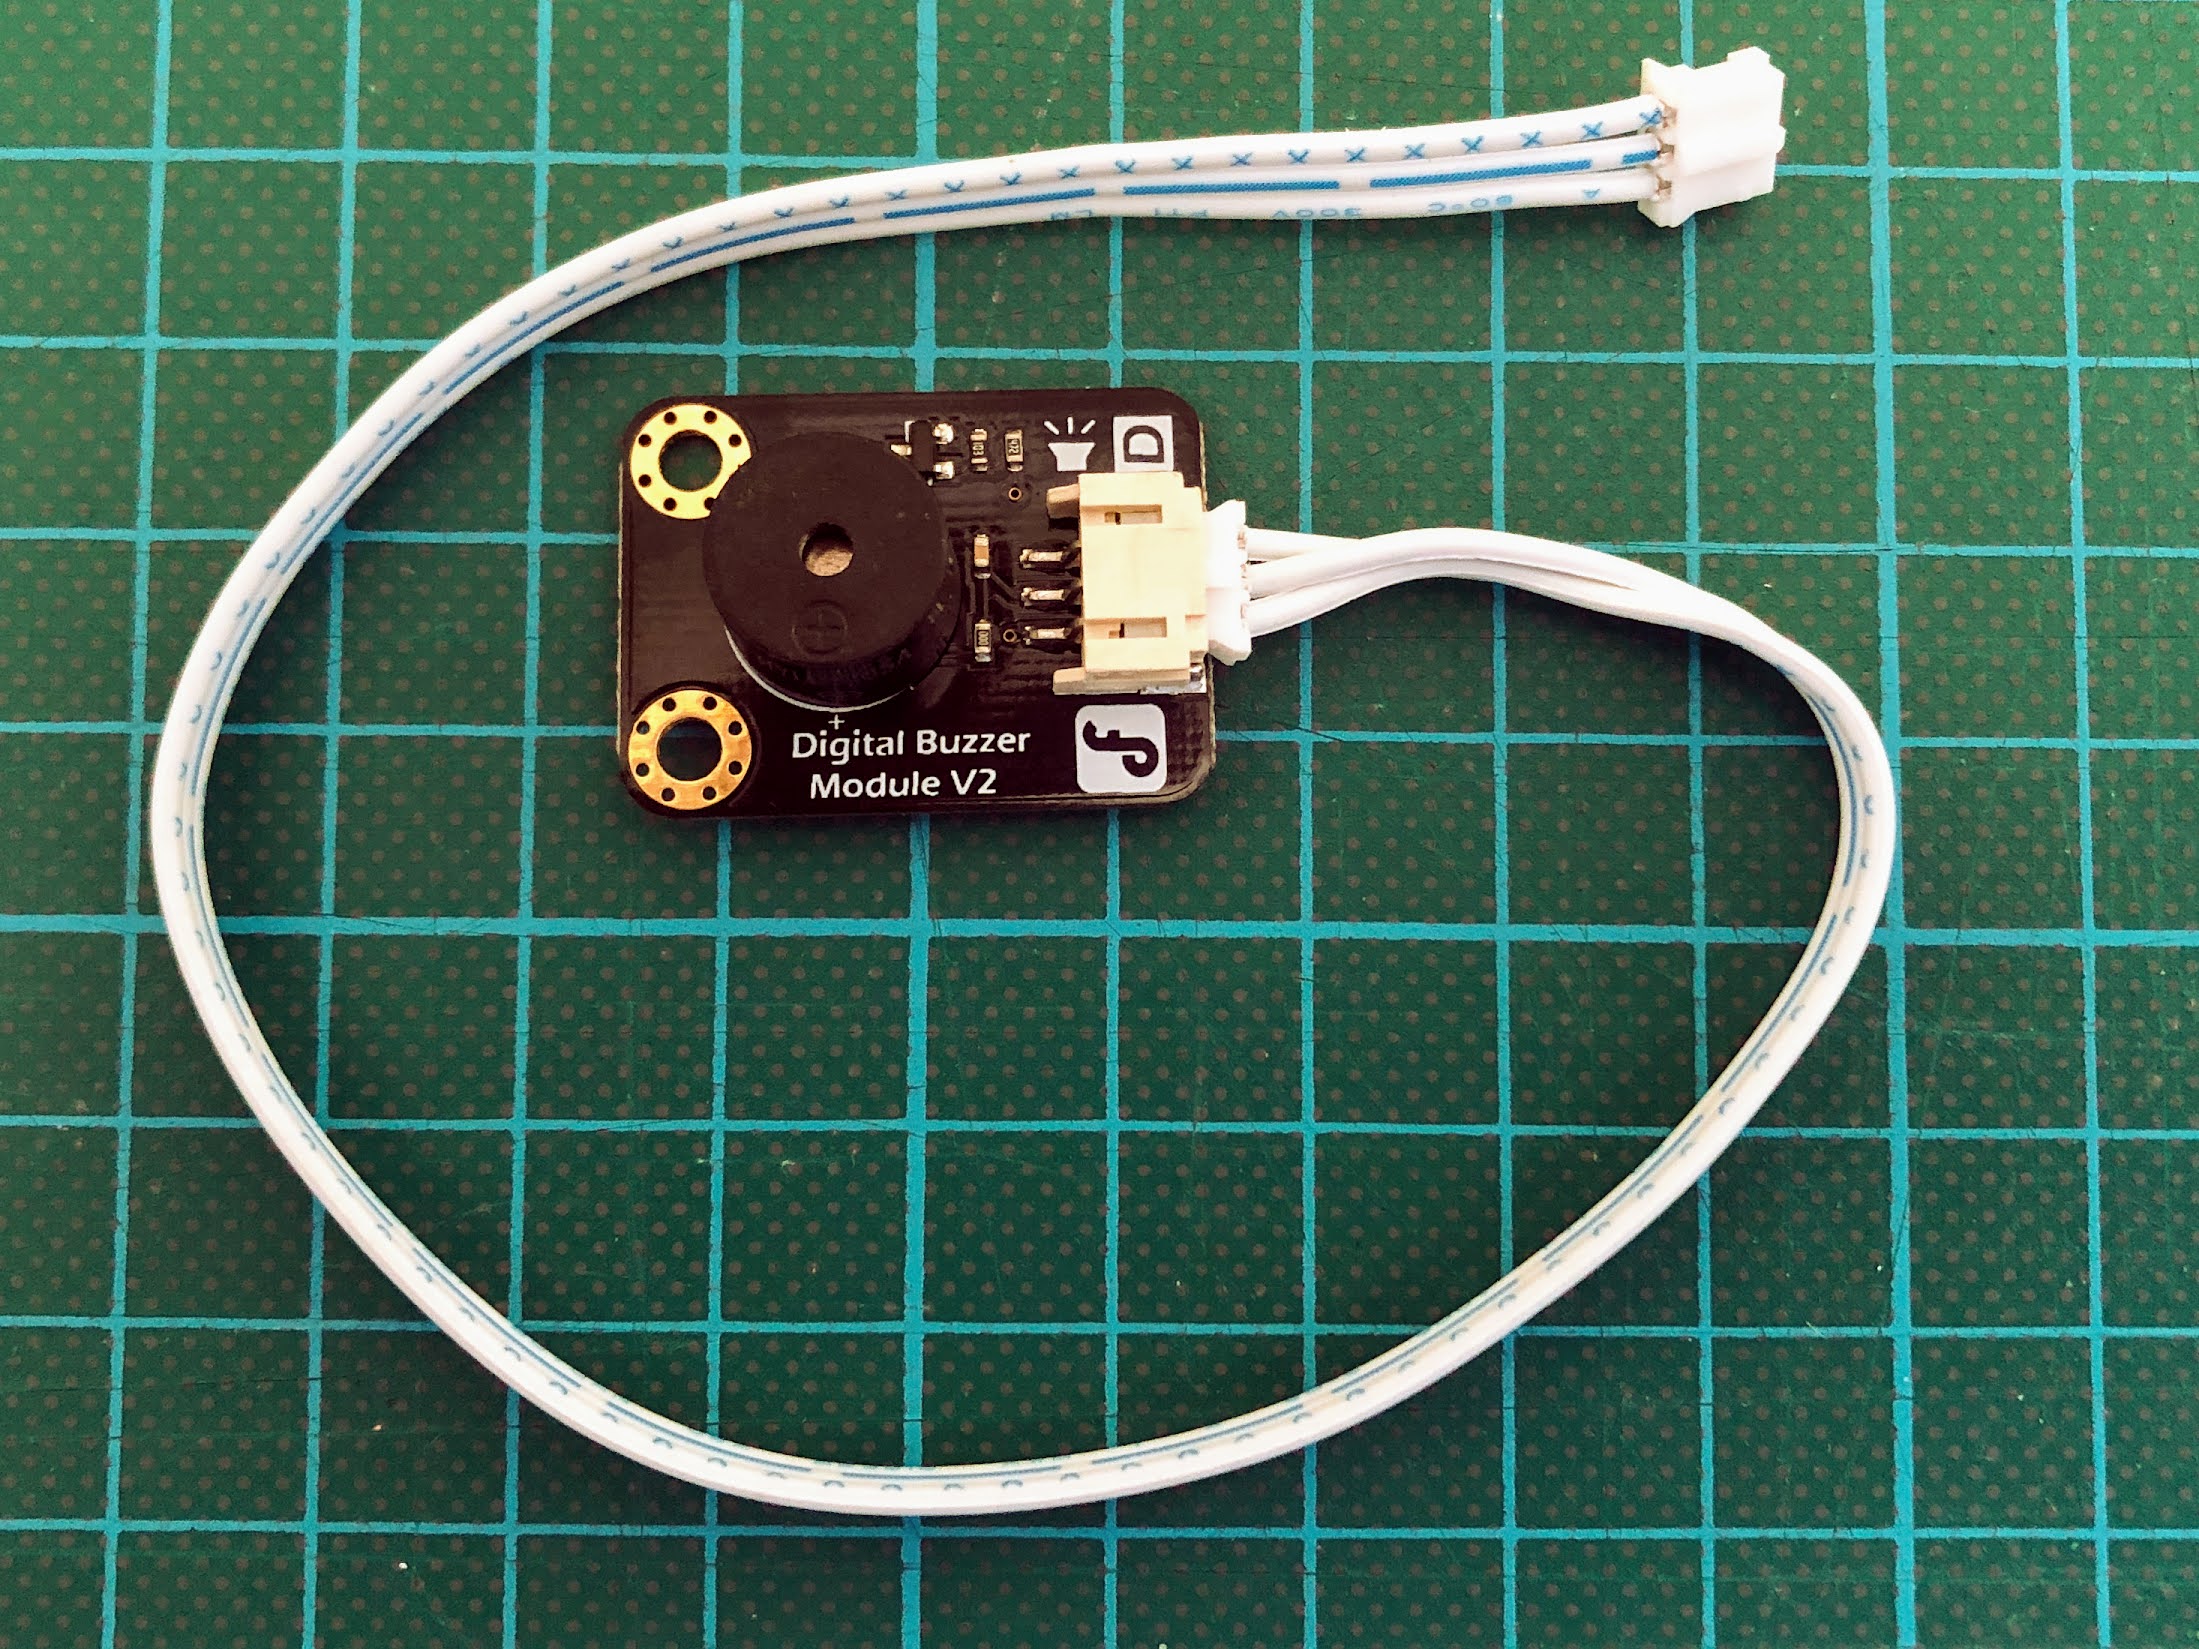
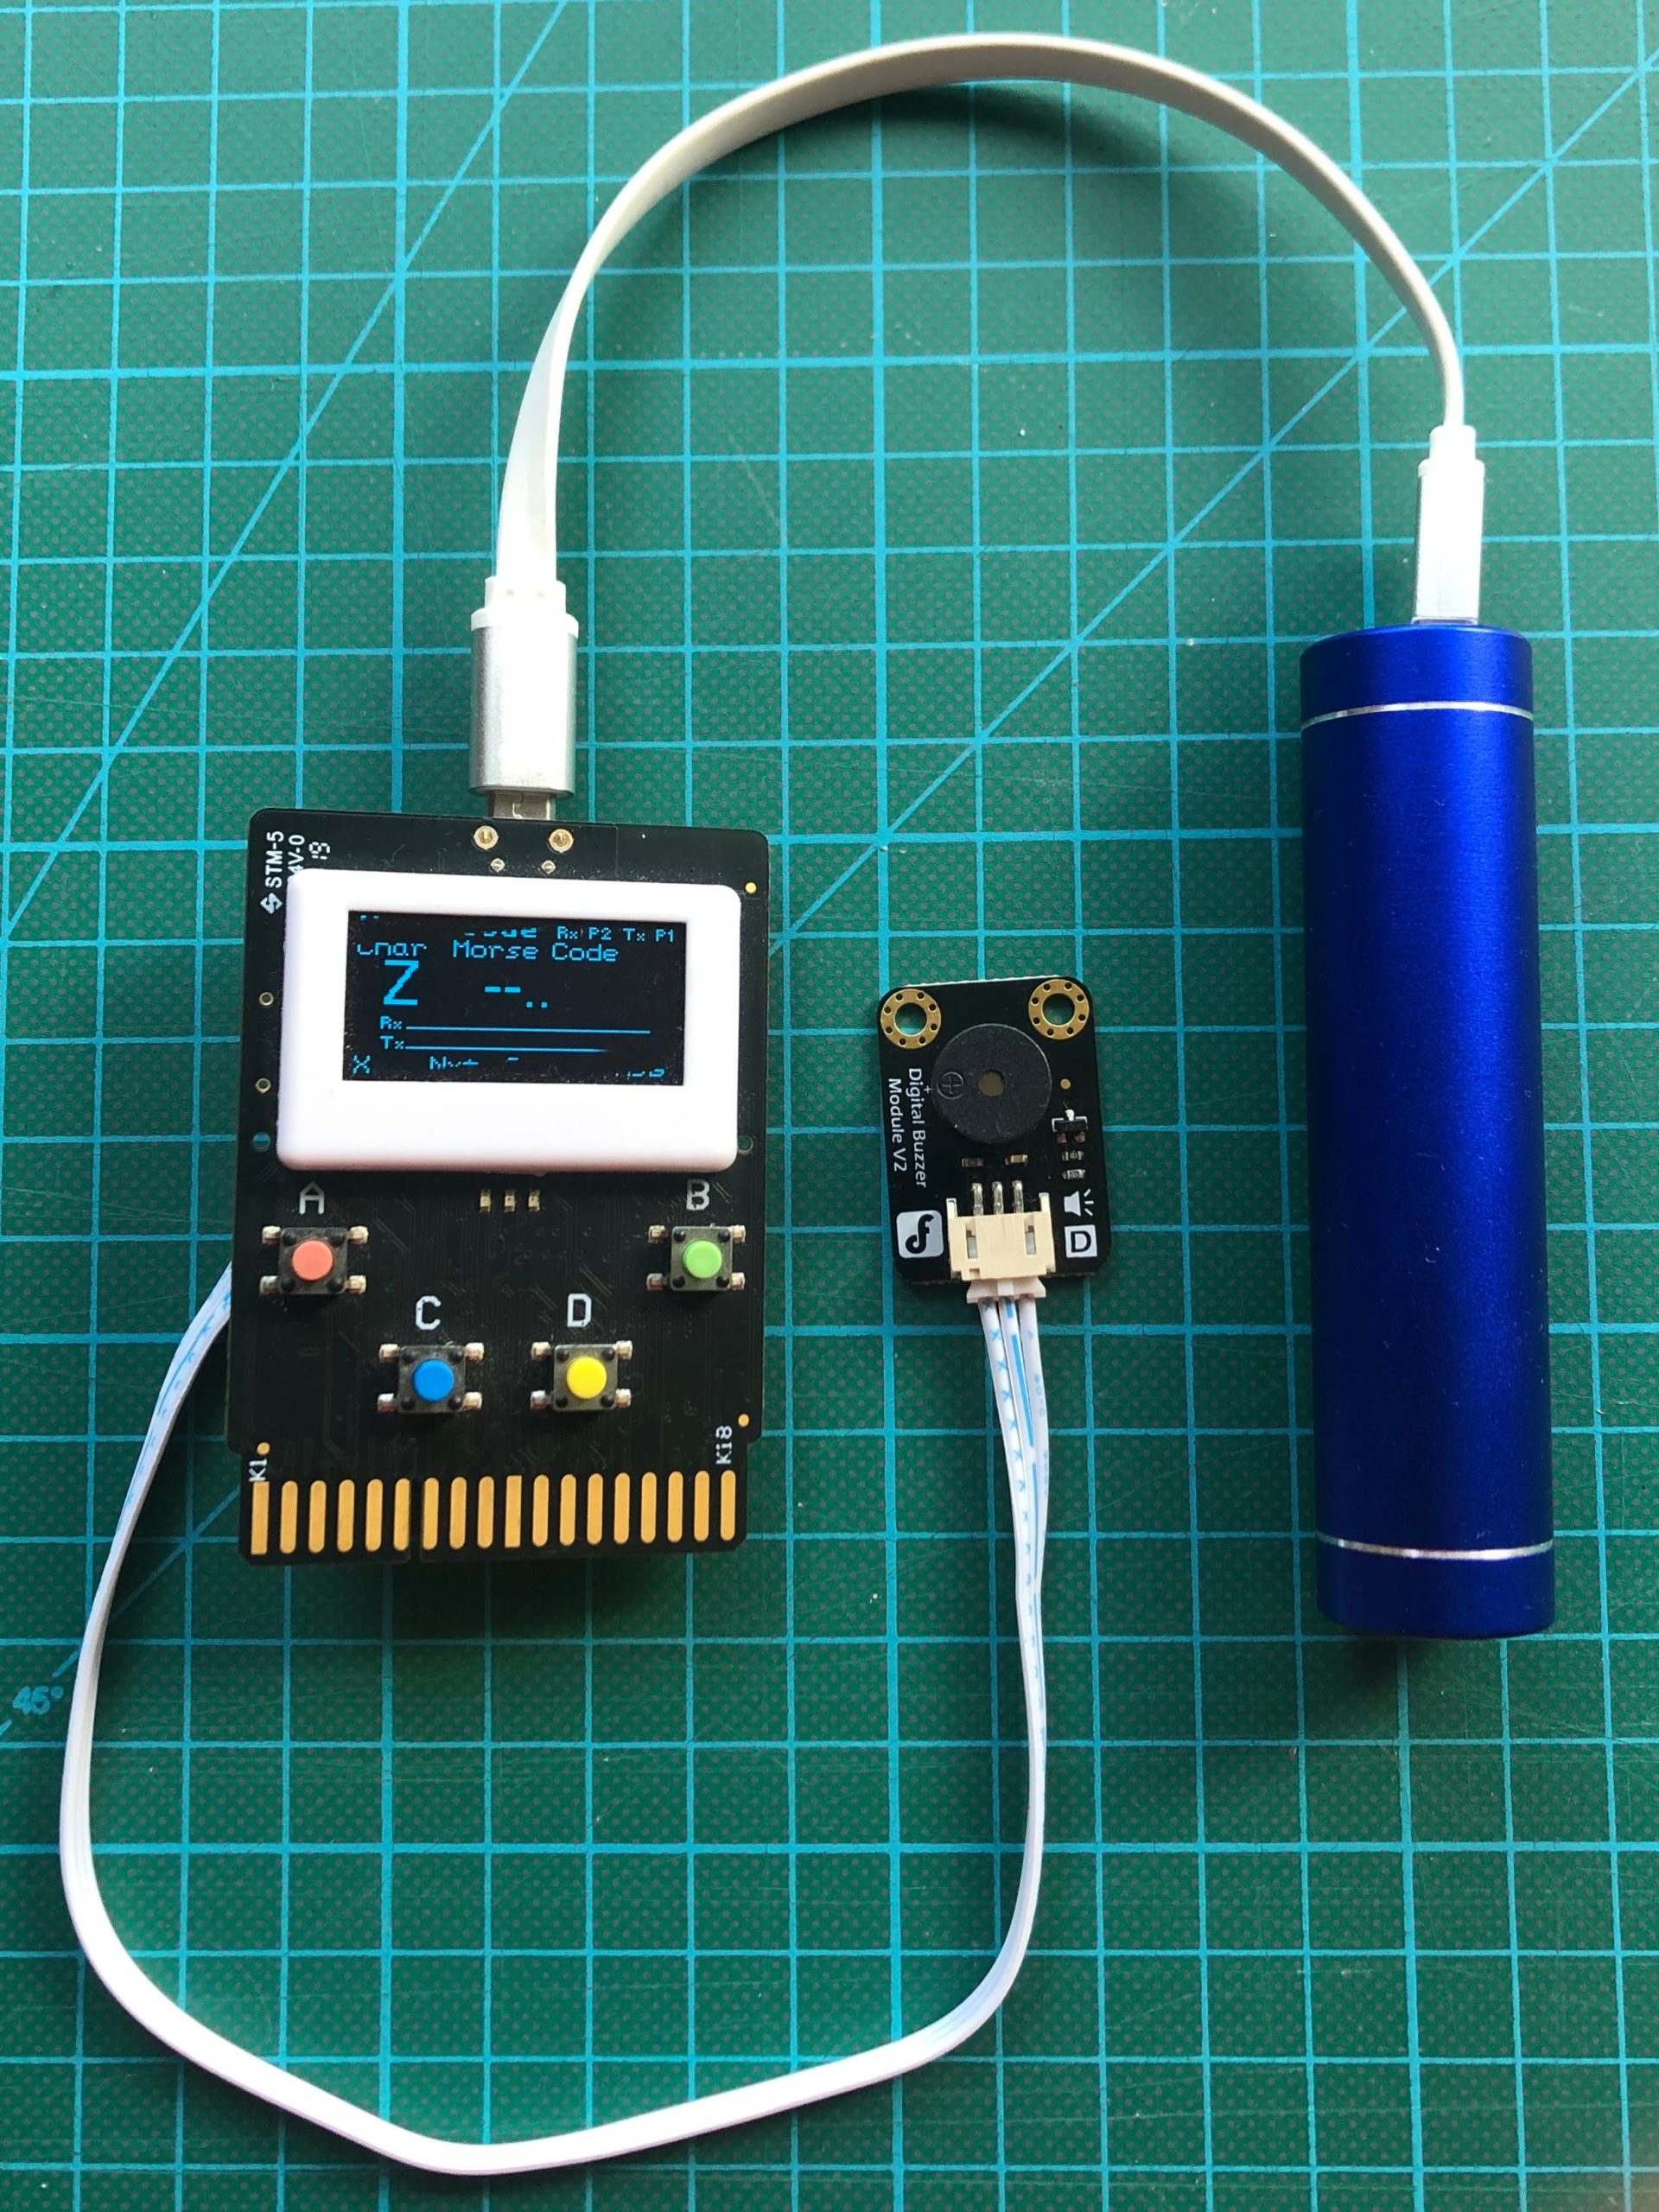
Listen
Connect a Buzzer to P1 on the back of the Kookaberry. This will sound out the morse code messages.
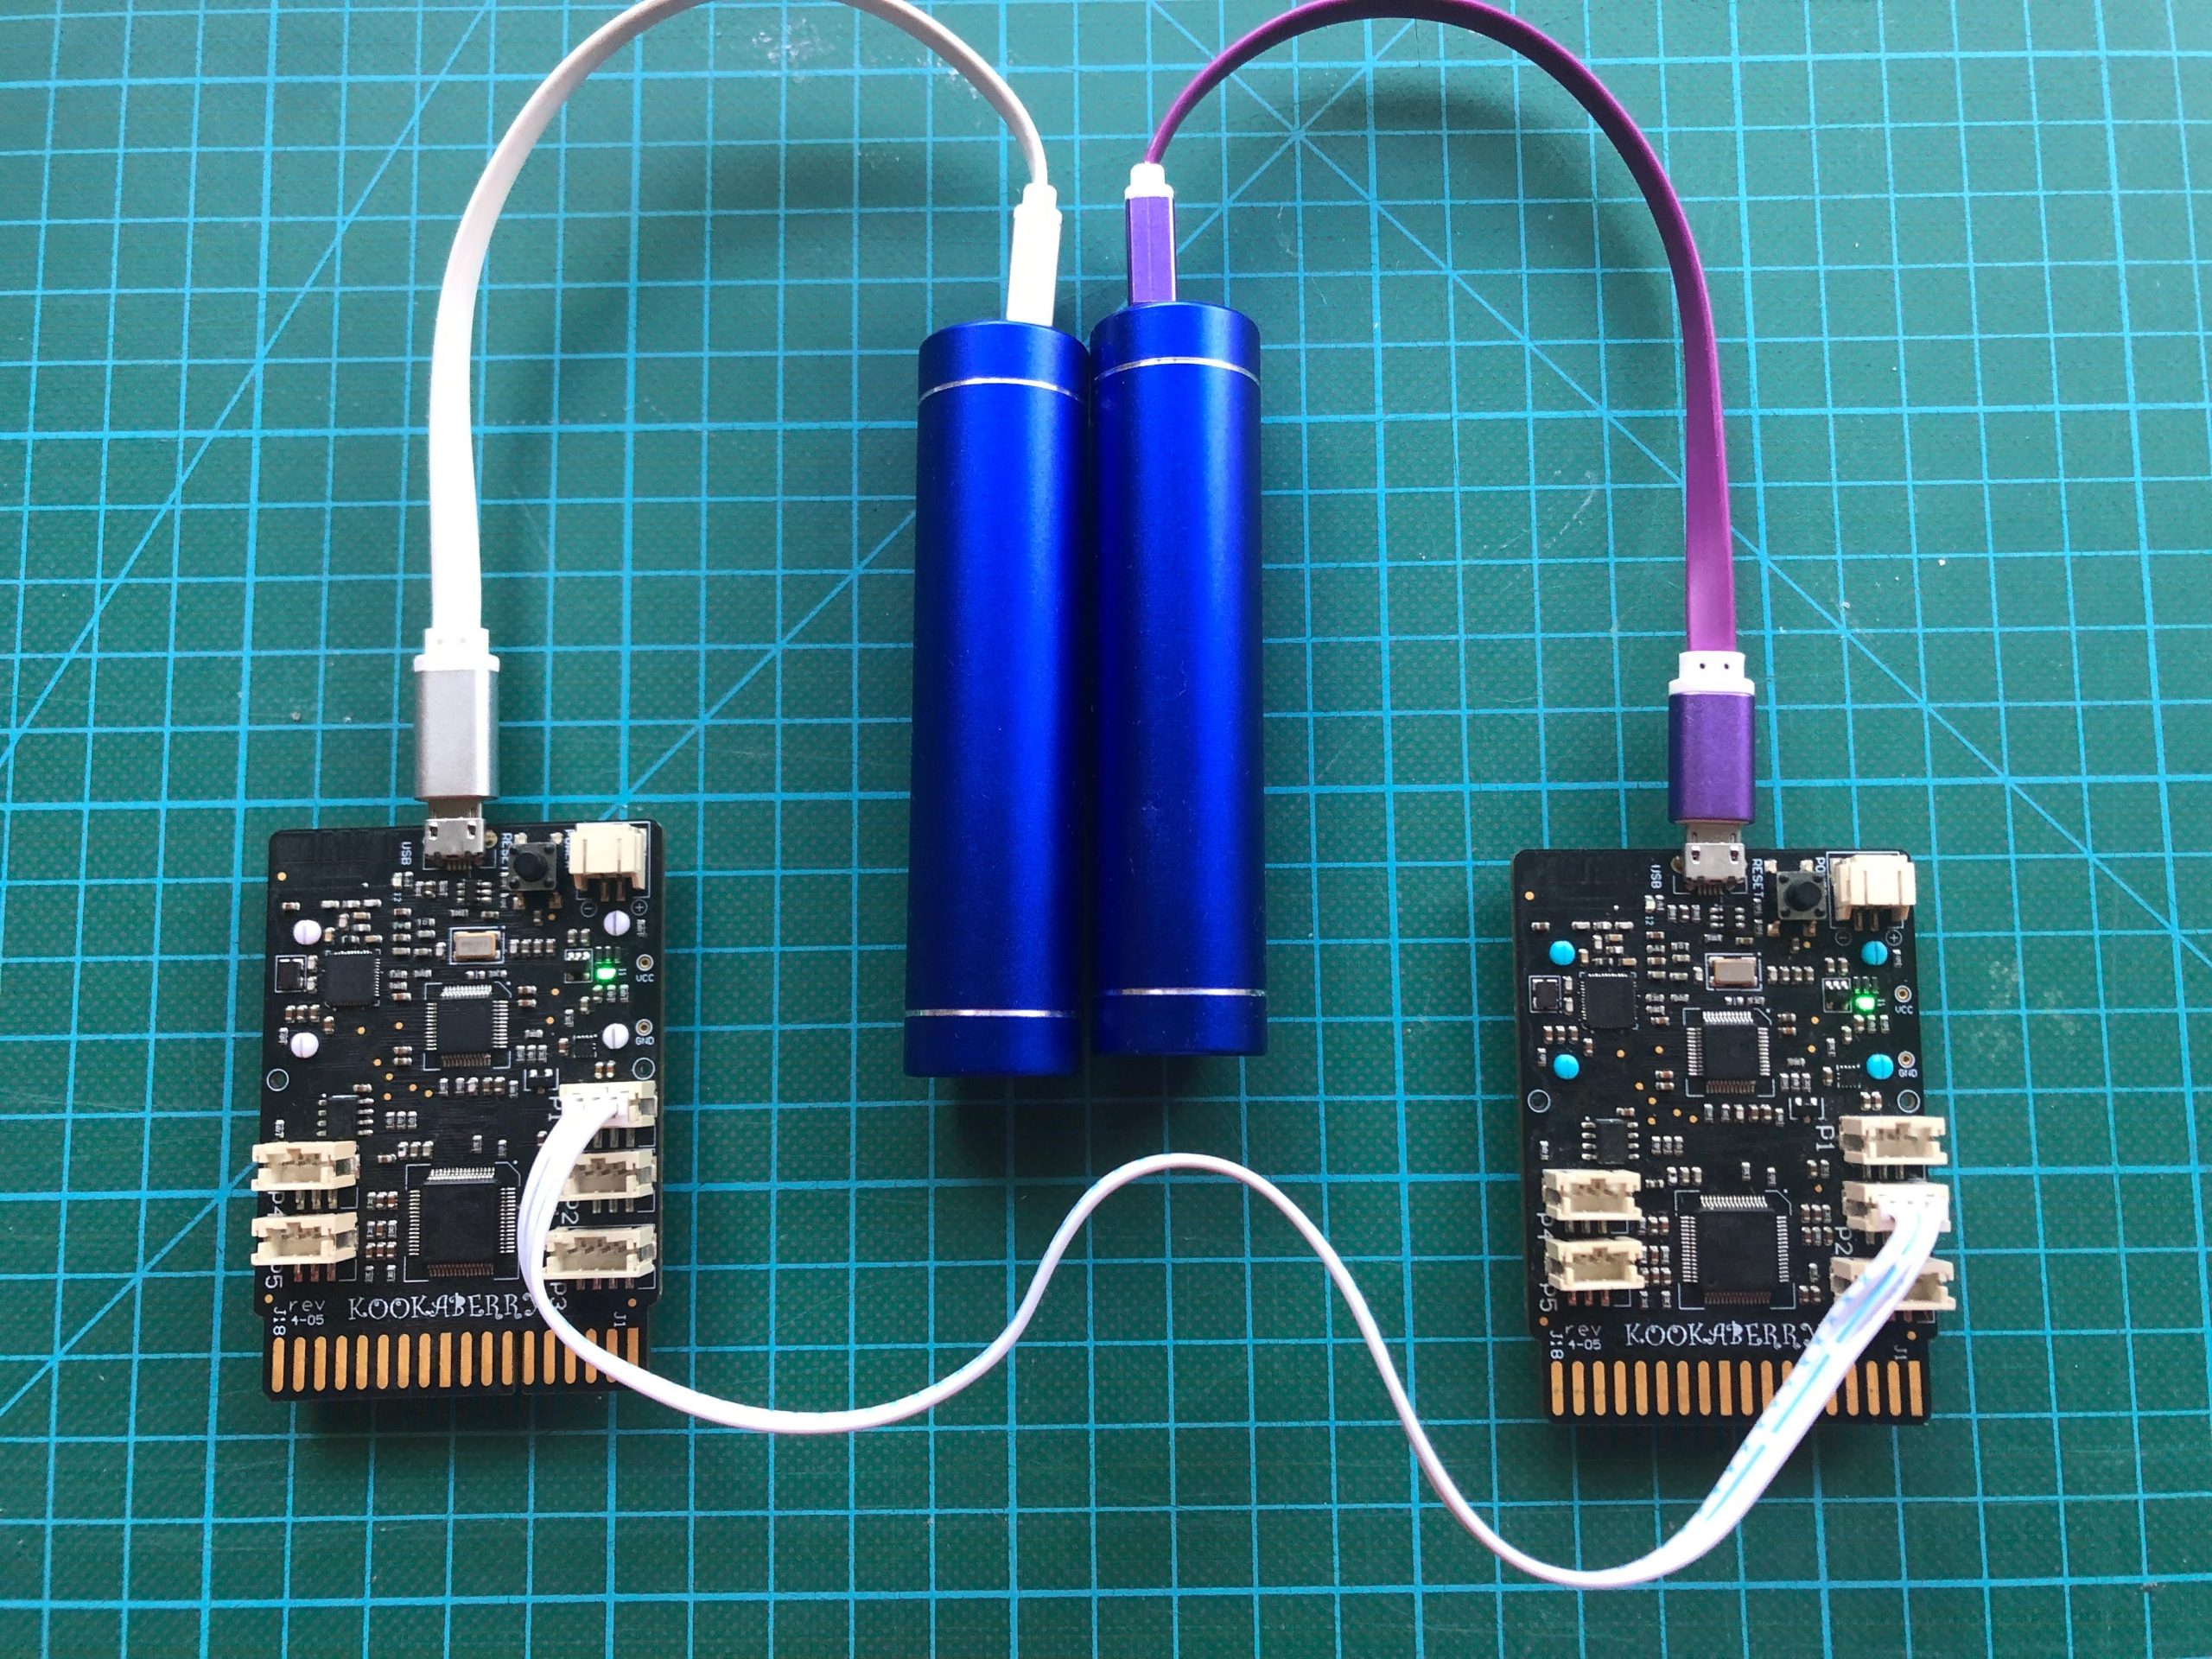
Transmit and Receive
To allow two Kookaberries to send morse messages to each other, connect them together with a 3 pin JST lead. Connect P1 on the transmitting Kookaberry to P2 on the receiving Kookaberry.
Step 2: Running and using the app
Navigate to the MorseCode app and press Button B to run. There are four modes controlled by successive presses of Button B. These are
Home Screen
This is where all the letters in the alphabet, plus numbers 0-9 and a space, together with their equivalents in morse code, are shown. NOTE: the space between words is represented by “/” on the Kookaberry’s screen.
Pressing Button D sends the code of the character selected to Pin 1. The transmit trace (Row 5) will show the pulses corresponding to the dots and dashes of code of the character selected.

What is showing on the Home screen?
- Top Row: Name of app; Pin designations
- Second Row: Headers for Text or number character and Morse Code equivalent
- Third Row: Character and Code equivalent
- Fourth Row: Trace showing morse code pulses received by the Kookaberry (not used in this screen)
- Fifth Row: Trace showing transmitted pulses. These are shown when Button D is pressed.
- Bottom Row: Button A is Exit; Button C shows the next character; Button D send the character shown; Button B takes you to the Message mode
Message Screen
This is where a text message can be created and edited before being sent to P1. The default message is shown with a cursor beneath.
What is showing on the Message screen?
- Top Row: Name of app; Pin designations
- Second Row: Default text
- Third Row: Cursor
- Fourth Row: Morse code for character selected
- Fifth Row: Trace showing morse code pulses received by the Kookaberry (not used in this screen)
- Sixth Row: Trace showing transmitted pulses (not used in this screen)
- Bottom Row: Button A is Exit; Button C substitutes the next available character; Button D moves the cursor to the next character to the right; Button B takes you to the Transmit/Send mode
Transmit Screen
![]()
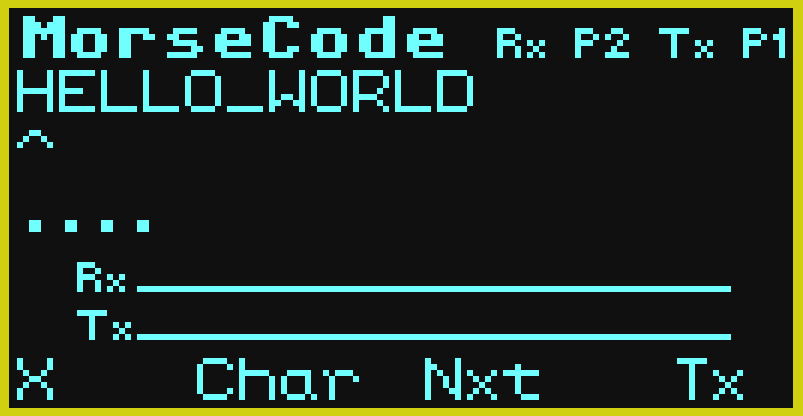
What is showing on the Transmit screen?
- Top Row: Name of app; Pin designations
- Second Row: Text Message
- Third Row: Cursor
- Fourth Row: Morse code equivalent of cursor-selected character.
- Fifth Row: Trace showing morse code pulses received by the Kookaberry (not used in this screen)
- Sixth Row: Trace showing transmitted pulses. These are shown when Button D is pressed
- Bottom Row: Button A is Exit; Button C sends the coded message to P1; After sending the message, Button B takes you to the Receive (Rx) Message mode
Receive Screen
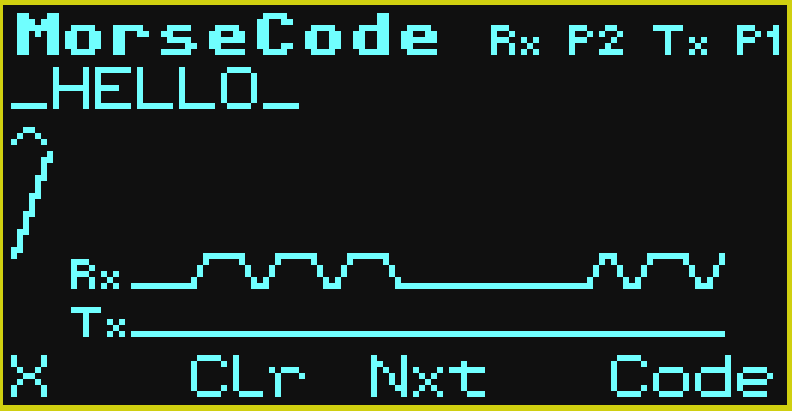
What is showing on the Receive screen?
- Top Row: Name of app; Pin designations
- Second Row: This is where the received, de-coded, message will appear.
- Third Row: Cursor
- Fourth Row: The first character (Space) of the message. Pressing Next (Button D) will progressively show the code of the received character.
- Fifth Row: Trace showing morse code pulses received by the Kookaberry.
- Sixth Row: Trace showing transmitted pulses. (Not used in this screen)
- Bottom Row: Button A is Exit; Button C clears any incoming message; Button D displays the code of character selected by the cursor.