Table of Contents
This tutorial will demonstrate how to turn the Kookaberry on, run an app and configure its ID and other parameters.
A pdf of this Tutorial can be downloaded from the sidebar to the right
It is important to note that the Kookaberry does not have an on/off switch on the board. When the battery is plugged in, it is always ON until the power lead is removed. Even if the screen is blank, the Kookaberry is still powered ON.
Some functions such as moving the logged data into USB memory, require the Kookaberry to be turned OFF (ie, powered down). In these cases, the power lead is simply removed from the battery and then plugged back in.
Turning the Kookaberry on and running an App
Step 1: Power
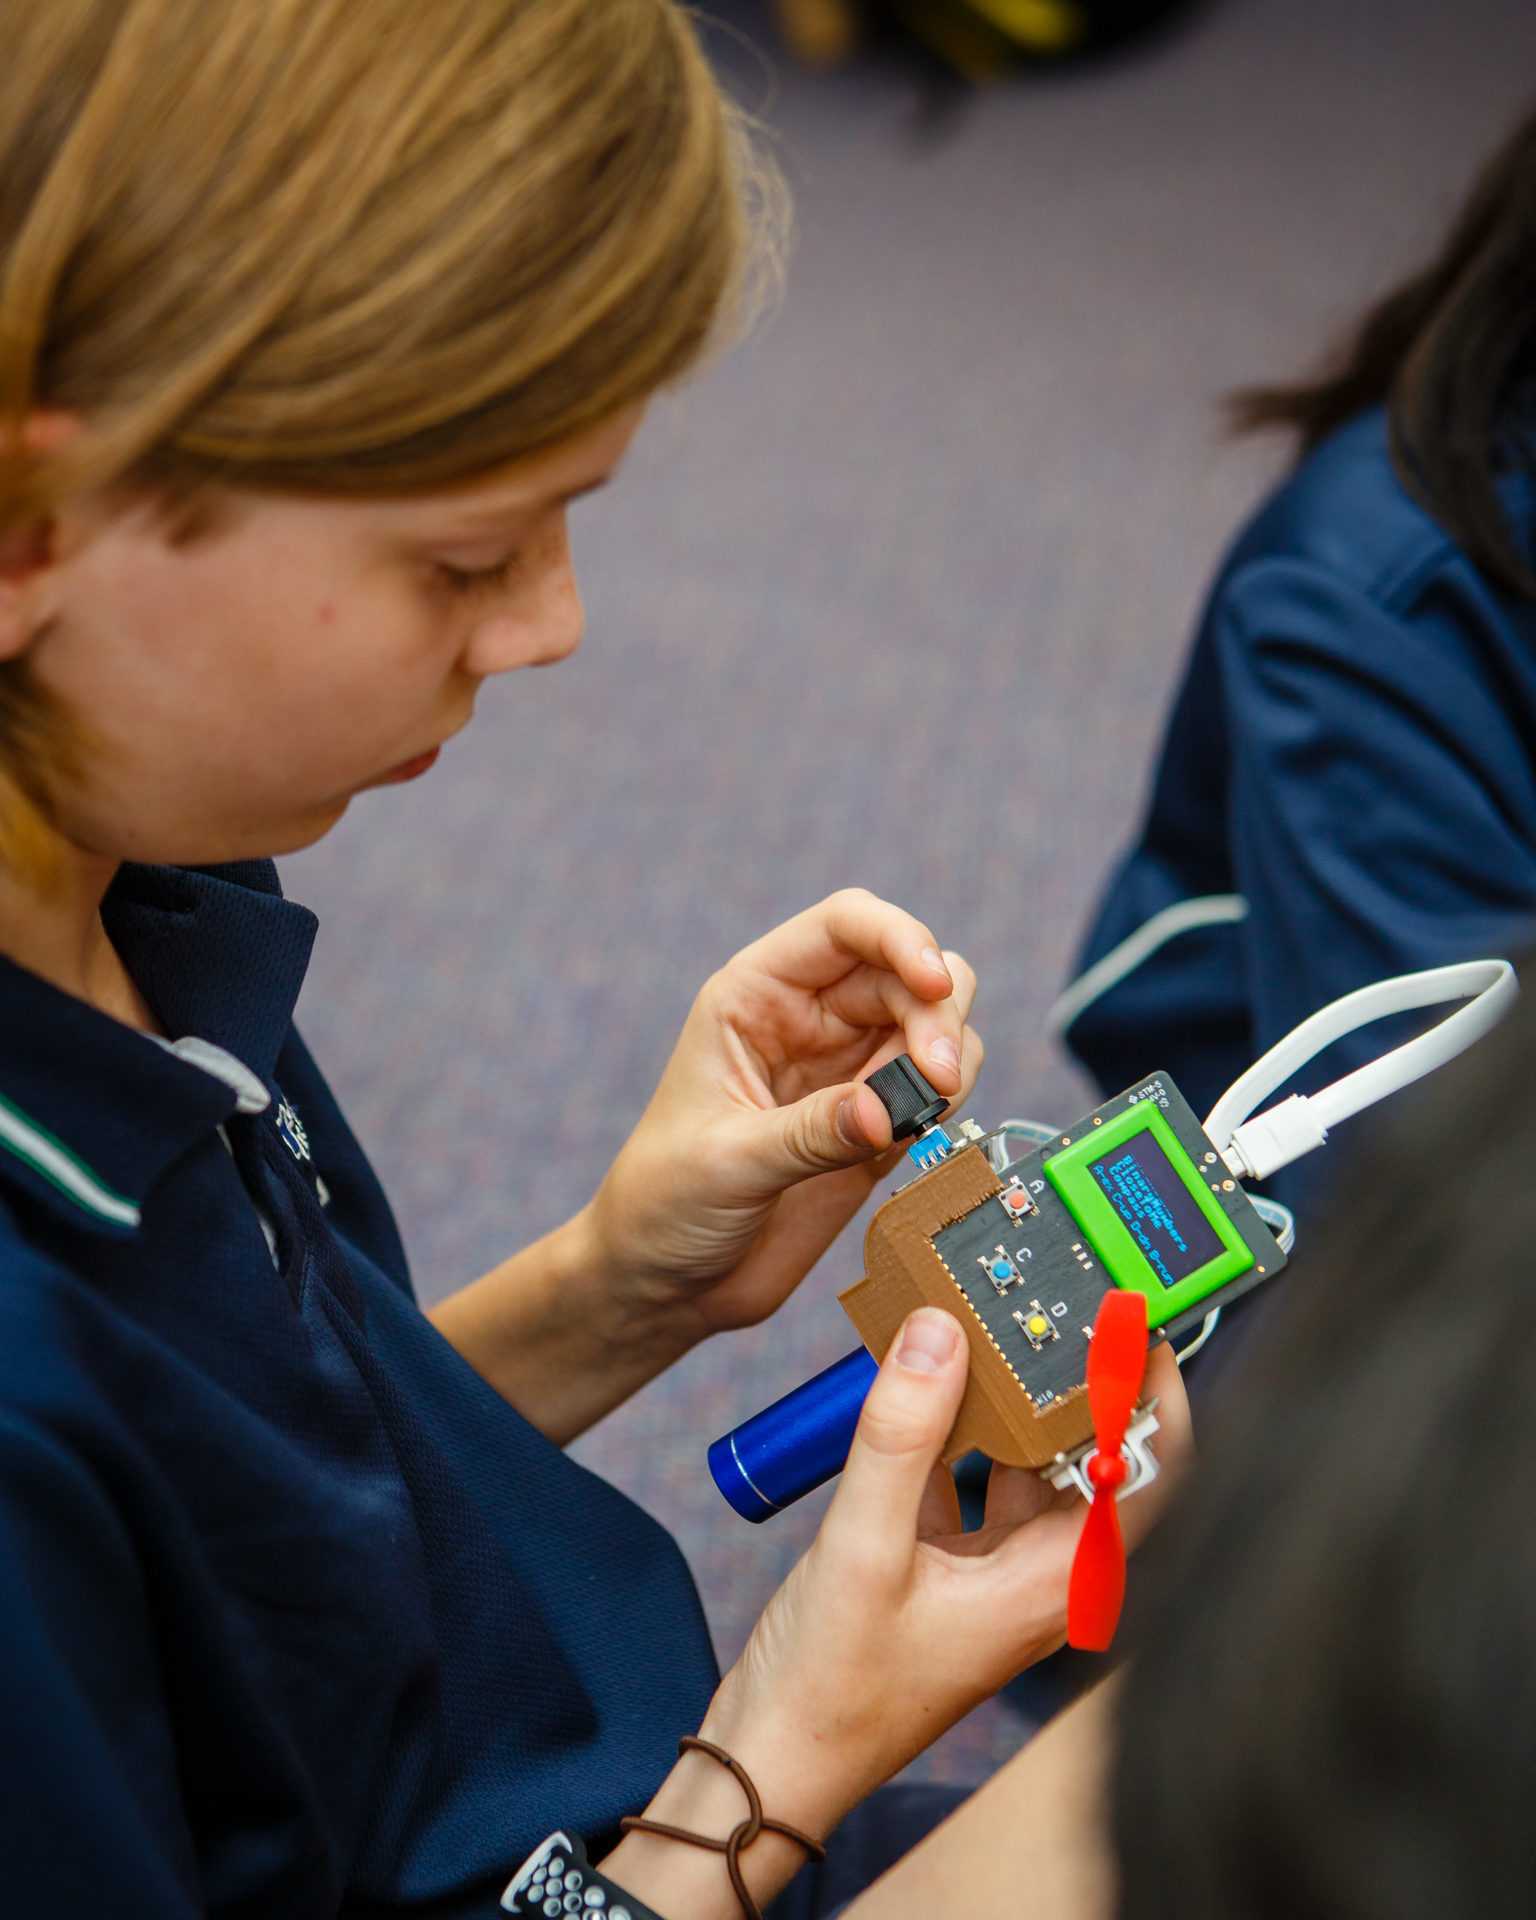
If an AustSTEM designed and 3D printed handle is available, push the Kookaberry into it with the screen facing forward, ie with the battery hole at the back.
Insert the battery into the vertical hole if being held in the hand, and into the horizontal hole if being stood on a flat surface 

Connect the 5 Volt USB Lithium-Ion battery to the USB connector. A green LED should illuminate on the back of the Kookaberry indicating that the Kookaberry is now switched ON.
If a blue LED is pulsing slowly then the battery voltage is too low and the Kookaberry will soon become inoperative.


The Kookaberry can also be powered from a battery box plugged into the battery connector and also by plugging it into the USB socket on your computer.
Step 2: Menu
Start the Kookaberry’s Menu app by holding down the green B button whilst pressing the reset button briefly and the letting go. This activates the Menu screen on the display.
The Menu shows a list of the MicroPython apps that are stored in the Kookaberry’s USB memory.


Step 3: App selection
Select the Kookaberry app that you wish to run by navigating up or down by pressing the C or D buttons respectively.
The cursor (>) on the left will move up or down the display and the list on the display will scroll up or down in response.

Press the B button to run the app.
Step 4: Running an App


Read the prompts on the screen for the correct connectors for the peripherals and connect them to the relevant connectors (P1 to P5) on the back of the Kookaberry.
It is best to make such connections and disconnections when the Kookaberry is OFF as connecting them whilst it is ON sometimes causes it to reset and turn OFF. In certain circumstances it might cause damage to the Kookaberry.
If this happens, simply write down the correct connections, plug the peripherals into the correct connectors and turn it on again
Step 5: Buttons
In general,
-
Button A is used as an Exit button both from the Menu and most Apps
-
Button B is used to run Apps
-
Buttons C and D are used for navigation around the menu screen
Configuring your Kookaberry
When the Kookaberry is switched on, the menu as shown in the screenshot appears. The _Config app will always appear at the top of the menu and sets up some basic parameters on the Kookaberry that are used by other apps.
The default values stored in your Kookaberry on delivery should allow every app to work correctly the first time it is run. The only values you might want to change, and their context are as follows
- when you perform data logging operations and want to make the data logging interval (INTV) longer or shorter.;
- when two or more groups are communicating with each other using their Kookaberries and you need to keep the communication private to each group. In this context you put all the Kookaberries in each group on one radio channel and the Kookaberries in each of the other groups on different radio channels.
- when more than one Kookaberry are running apps which transmit data to a central Kookaberry. For instance when using the SenseXX apps. In this context you will need to ensure that the ID’s on each Kookaberry are unique. For instance if there are five teams, then their Kookaberries should have ID’s 1 to 5.
To run the _Config app select it from the Kookaberry menu and press button B to start it.
Firmware Version
The first screen to open when Button B is first pressed shows the version of the firmware (the programme that tells the chips how to interpret the app code) installed on the Kookaberry

Press Button A to continue to the first configuration parameter (ID)
ID Parameter

The lines in the display are:
-
The first line is name of the app “_Config” and the present ID of the Kookaberry (01)
-
The third line shows the parameter being configured, beginning with the ID which is set to 1
-
The last line explains the functions of the four Kookaberry keys A (exit the app), B (go to the next parameter), C (increment the current parameter), and D (decrement the current parameter.
In this instance the ID parameter can be adjusted from 1 to 99 inclusive by pressing the C and D buttons.
Press button B to go to the next parameter (INTV)
Data Logging Interval

The rate at which the Kookaberry records a sensor measurement in its USB memory can be varied in this screen.
Faster rates should be used for measurements that change relatively quickly (like the temperature of a dish of cooling water) over a lesson period; and slower rates when measurements are made over days (like the temperature and relative humidity profile in a playground).
The inverse of the rate – the interval (INTV) between samples – is what is varied through this screen. The longer the interval, the slower the rate of recording.
The current or default setting is shown as hh:mm:ss, in the example it is 10 seconds.
Pressing the C or D buttons will cycle the INTV setting through a preset range of intervals between 1 second to 24 hours inclusively.
Press button B to go to the third and last parameter which is the radio CHANNEL number.
Radio Channel
Press button B to go to the third and last parameter which is the radio CHANNEL number.

The Kookaberry contains a digital packet radio for communicating data between Kookaberries on the same radio channel. The available channels are 0 to 83 inclusive which are selected using buttons C and D.
The radio signal is transmitted in the broadcast mode, This means that all Kookaberries which are set to the same radio channel will receive the same signal. No pairing is required
If “private” one-to-one communication is required between two or more Kookaberries, then set them on the same (but different to the rest) radio channel – eg, 80
The default channel is 83 as shown. The High end of the available channels has been chosen as these are less subject to WiFi interference.
Finish & Save
To finish and save the configuration press the A (exit) button and return to the Kookaberry menu. If the _Config app is terminated without pressing button A, for example by pressing reset or removing power, then the _Config setup will not be saved.

The configuration is stored in the ‘Kookapp.cfg’ file in the root folder of the Kookaberry file store. Please do not delete or alter the file as unpredictable operation of other apps may result.